Create Event and Sell Tickets Online - Kenzap MyTicket
Kenzap MyTicket is an open-sourced extension designed to serve various needs of event management companies and event organisers. Here is the list of some core built-in features and functionalities.
- Event listing
- Booking management dashboard
- PDF ticket and invoice generation
- QR-code tickets
- Email notifications
- Attendence list generation
- Mobile application to manage check-ins
- Payment gateway integration
- Sales analytics
- Seating chart integration
- Landing page builder
- Vendor profile listing
- Checkout customisation
- Branded domain name connection
- Custom design system setup
Kenzap MyTicket allows the creation a fully managed platform that operates under your company's brand name, incorporates your company's unique design patterns and integrates with the most popular payment gateways.
By integrating payment gateways directly with your business you can bypass any third-party fees that typically arise with other popular ticket management providers.
Kenzap MyTicket operates in Kenzap Cloud where such tech aspects as security, database management, backups, and configuration conflicts, are all managed by a team of professionals.
This guide provides a brief introduction to how to start using the system and list your first event for sale.
Create Cloud Space
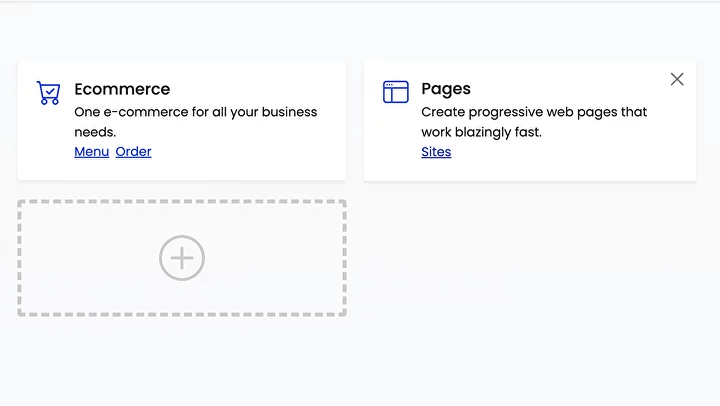
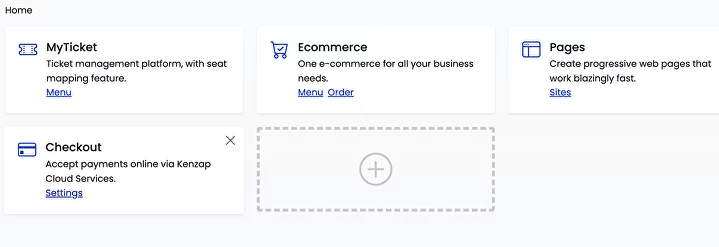
To create your first event go to kenzap.cloud then click on the large plus sign block and select MyTicket extension from the list.
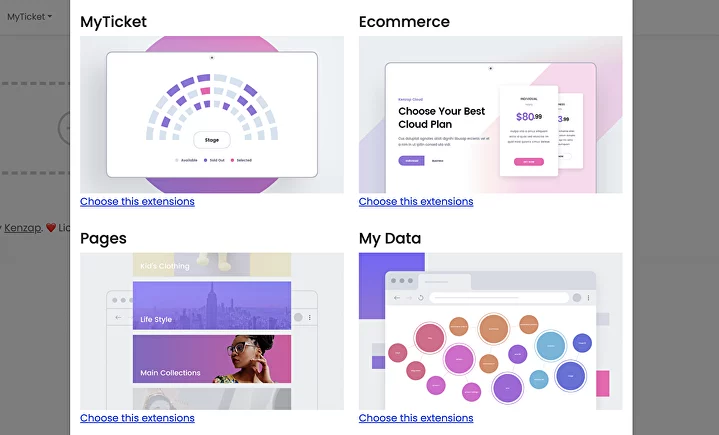
You can also add the following supporting extensions to your Cloud dashboard:
- Ecommerce
- Pages
- Checkout

After all extensions are added to your Cloud dashboard you can start customising them.
Create Event
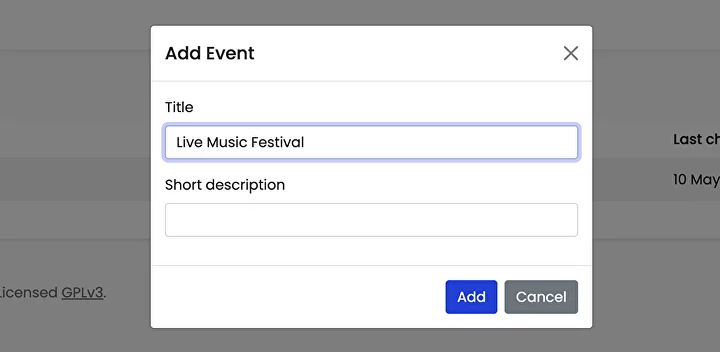
To create your first event click on the menu link from the MyTicket block. Go to the Events page and click on the Add event button. In the pop-up window provide your event title and click on Add button.
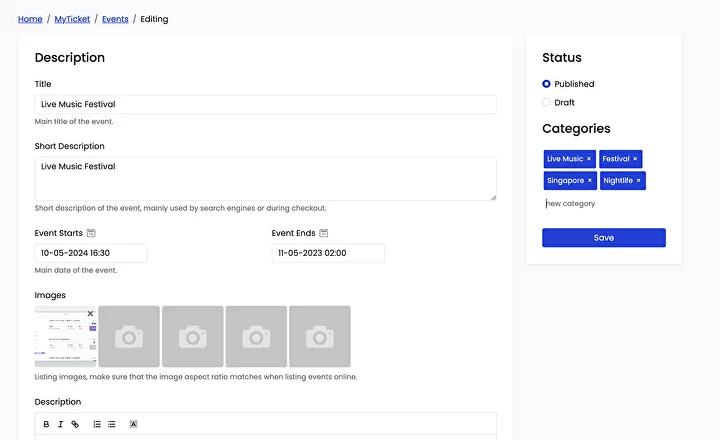
After clicking on add button you will be automatically redirected to the event edit page as depicted in the image below.

Here is the list of the information you can edit under the event edit page:
- Event title - main event title reflected in bookings, PDF tickets, email notifications, checkout and mobile application
- Event short description - used by search engines and sharing bots
- Event start and end date and time - event date and time
- Event images - used by landing pages and booking dashboard
- Event description - used by landing pages, during sales
- Price packages - price variations, for example, early bird, etc
- Package title
- Package price
- Package availability
- Package features
- Package visibility
- Package layout - optional, used to connect seating charts and interactive layouts
- Event type - physical or online event
- Event location - event location linked with Google maps
- Event vendor ID - optional, used by API or third-party integrations
- Event vendor name - vendor name
- Event vendor logo - vendor logo
- Event social link - social link of vendor profile, for example, Instagram, used by event landing pages
- Event ticket tagline - used in PDF tickets
- Status - event visibility settings
- Categories - event tags
All prices are added as packages. The image below shows an example of how to add a package. Package features are a good way to differentiate event pricing offerings in event landing pages. Package visibility allows you to temporarily hide a particular package from sales or to mark it as booked for marketing purposes.
With the help of package availability, you can set the maximum amount of tickets one particular package can sell.
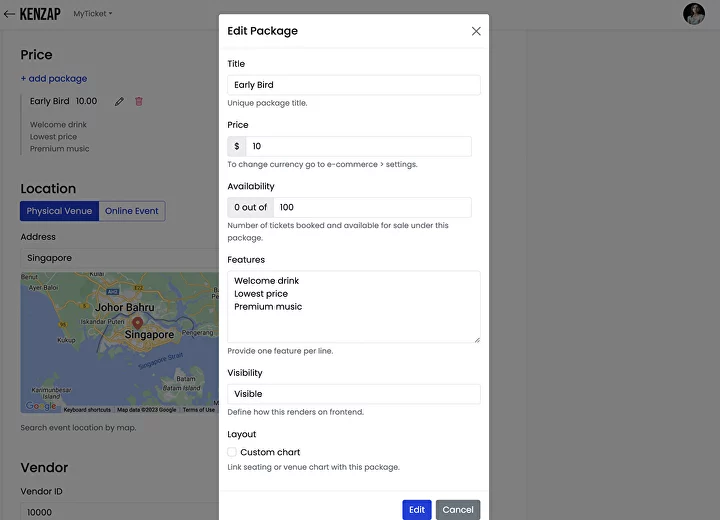
To finalise package creation or editing hit on the blue confirmation button of the Edit Package popup window.
 Once all required information is filled in, make sure to change the event status to Published and click on the Save button.
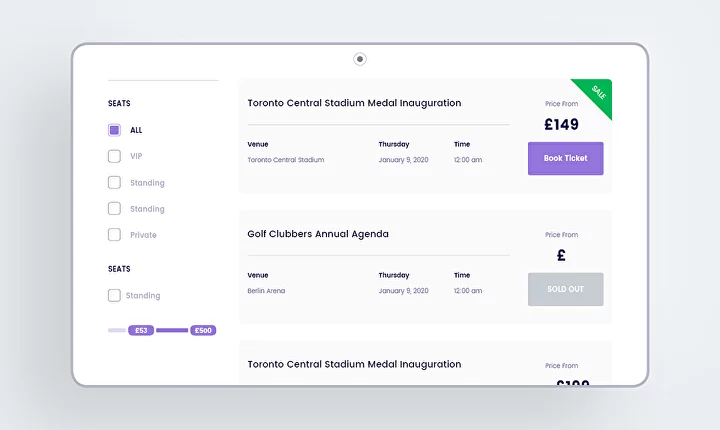
List Event
After the event is created and published you can set up your branded landing page to list the event publicly and start selling tickets. For this purpose go to your main kenzap.cloud dashboard and then navigate to the Kenzap Pages extension.
Click on Siteslink and click on Add site button. A popup window will show up where you can configure your domain name. Adding your custom domain name comes at no additional cost, however, you may need to register your domain (if not yet) and point it to Kenzap Cloud.
in this guide, we use Free Kenzap Domain. Please note that you can change your domain name for the entire website any time later.

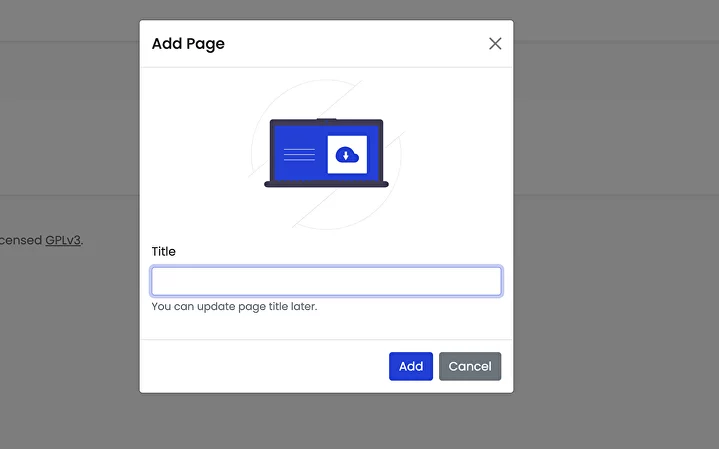
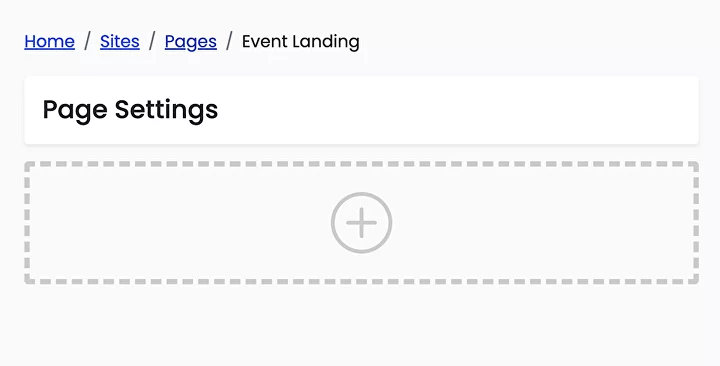
Now that the website is created click on Add page button to create a publicly accessible event landing page and provide your page title.
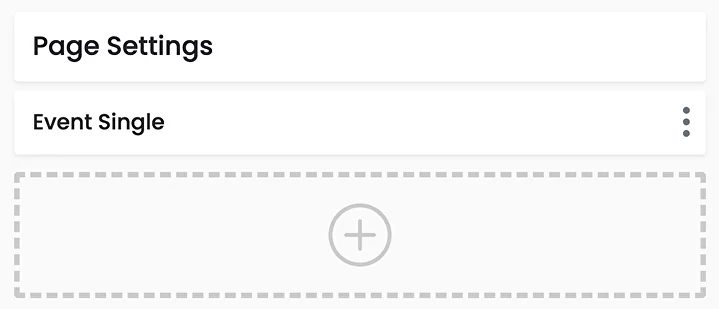
After the page is created click on the plus sign block to add sections to your landing.
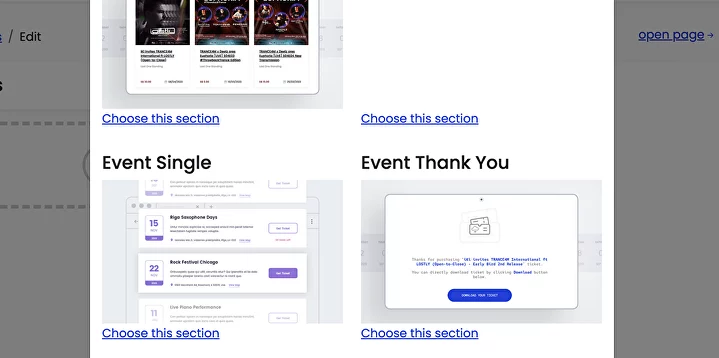
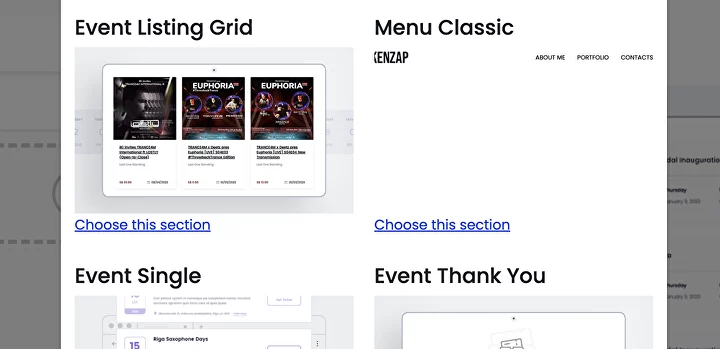
In the popup window scroll down the page and add the Event Single section as shown in the image below.
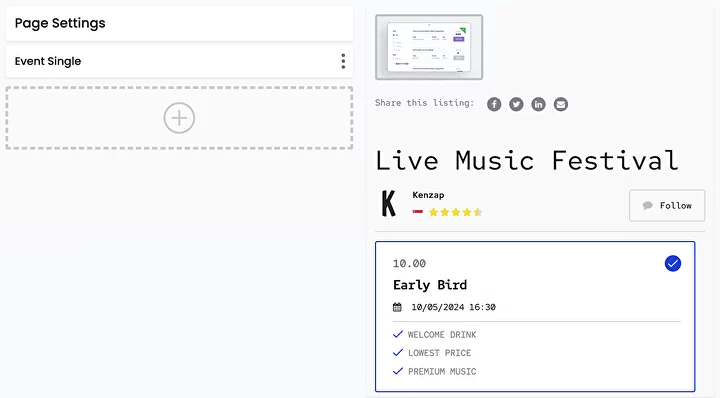
You will be able to see an immediate preview of the event landing page in the right pane of your screen. The Event Single section automatically picks your event title, preview image, vendor and package details.
To preview your landing page online click on the blue Publishbutton and then open page.

Now you can share this link with anyone who is interested in your event or drive traffic from paid advertisement to it.
However, you may have noticed that some necessary elements are missing on your landing page. These elements are the page header, logo, navigation menu and footer.
To add a page header with a logo and the navigation menu return to the page editing and hit on the plus sign block again.
In the popup window scroll down until you find the Menu Classic section and click on Choose this section.
To relocate the Menu Classic section on top of the Event Single section click on the three vertical dots and then click on the Move Up link as shown in the image below.
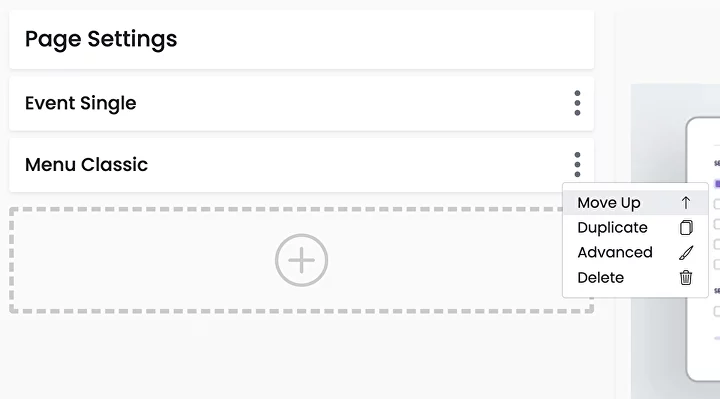
Then click on the Menu Classic text in order to expand this section's settings.
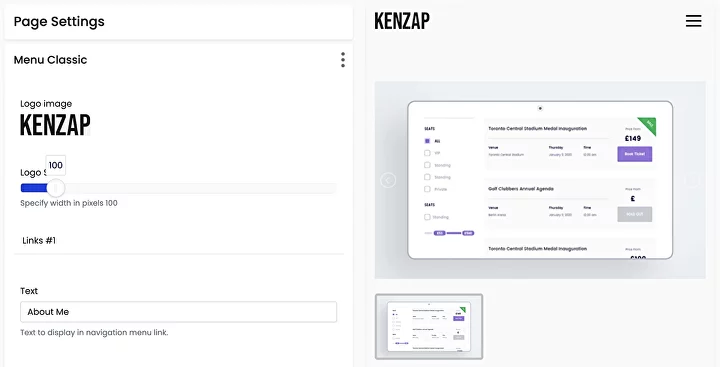
You can update the logo image, change its size and add navigation menu items with links. Once all changes are provided do not forget to click on Publish button to save changes.
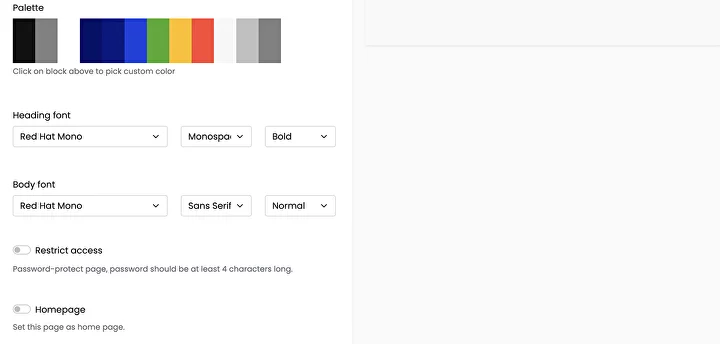
Take a look at the page settings menu. You can customise the unique feel and look of the page by adjusting its colours, fonts and other configurations.
Your landing page is almost set up and ready to serve its first ticket buyers, however, you need to connect it with the payment gateway. Refer to the next section of this guide for more details.
Accept Payments
Go back to kenzap.cloud dashboard and navigate to Checkout settings.
By default, you can add Stripe and Cash payment methods.
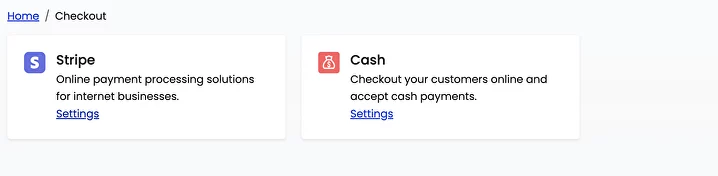
For example, to enable the cash payment method click on settings and then toggle the Cash button as shown in the image below.

Note that you can override the default payment method title. The payment method title is reflected upon checkout.
The very last configuration that is required for a successful checkout is the currency settings. From the kenzap.cloud dashboard to go Ecommerce settings page and find the currency settings section.
This information is passed to the payment gateway, PDF tickets, invoice and sales analytics.

Congratulations! Now you can start selling event tickets online and receive payments directly to your bank account.
If you have any questions, please do not hesitate to contact us here.