Creating meal plans in Madang theme is not linked with WooCommerce products. On the one hand this means that you need to define all meals again but on the other if you do not plan to sell meals individually like described on this page this approach makes the whole process faster and more simplified. Meal plans are usually split by days of the week or the month. You can define as many days as you need and use single day multiple times. For example, one meal plan can be used for Monday and Friday simultaneously. In order to create first meal plan go to Meals > Add New section of our admin.
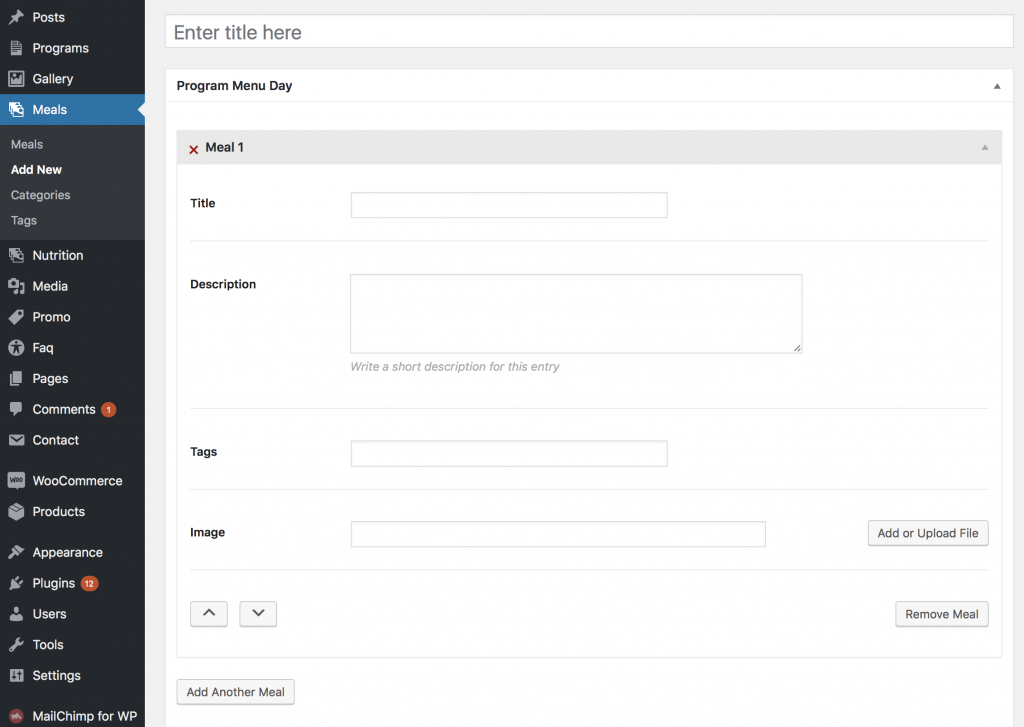
The following fields should be entered:
- Title – usually indicates time (breakfast, lunch etc.)
- Description – brief description of a meal.
- Tags – one, two most relevant keywords.
- Image – meal picture.
- Add Another Meal – click to add one more meal.
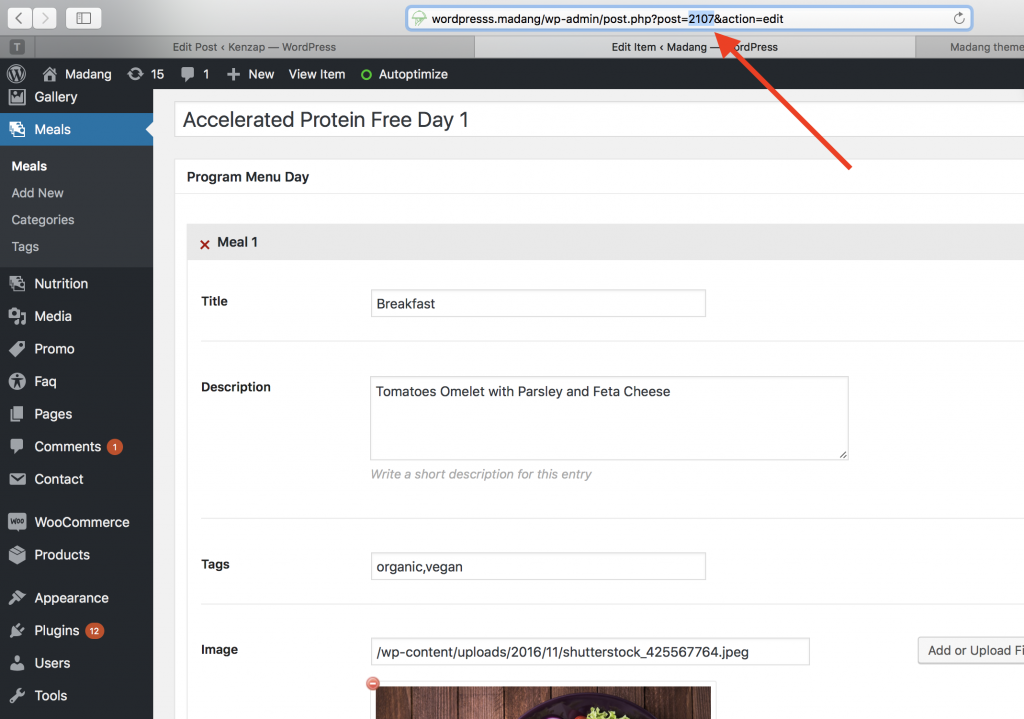
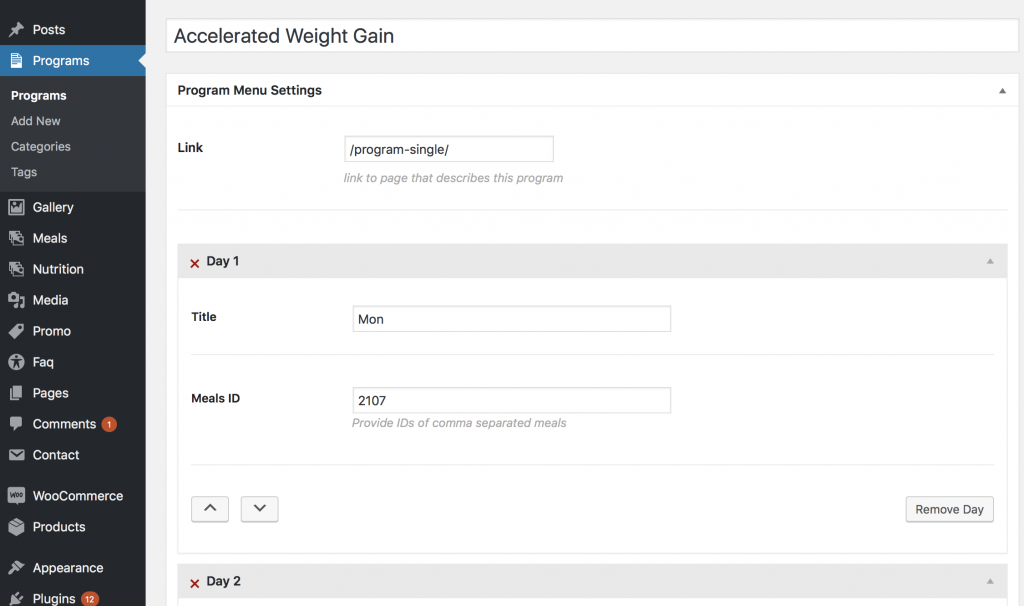
Once the meal plan for the day is specified click Publish and remember its ID number (Meal ID) that can be found in the URL of your browser. Please refer to the image above. Repeat same actions to create meal plans for other days as well. Once all the days are created you need to combine them in one program in order to represent it as a single package on your website. Go to Programs > Add New section of our admin and click on Add Another Day button to create as many days as required by the program. Each day has only two parameters:
- Title – usually an abbreviation of a week. Example, Mon, Tue, Wed etc.
- Meal ID – id number available from Meals section
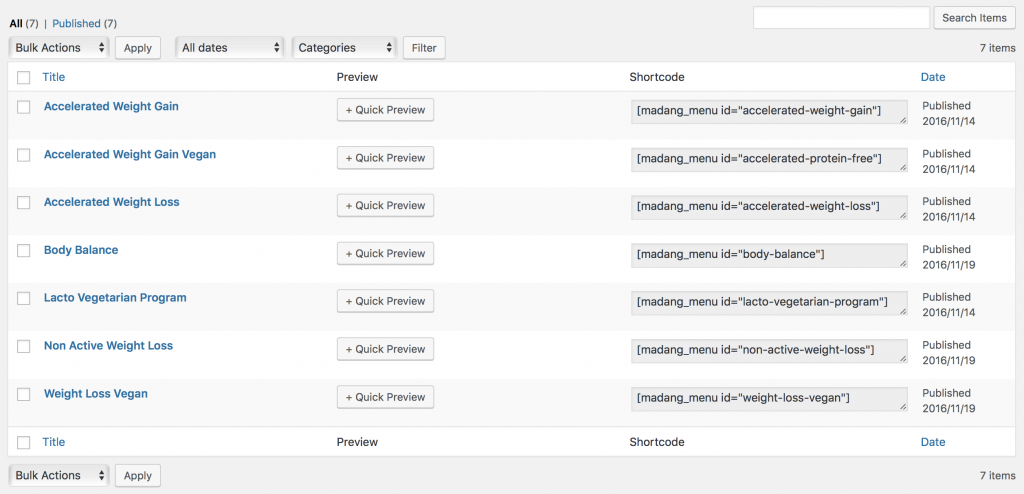
Once all the days are created and linked by ID numbers the first meal plan package can be published on your website. Copy program ID (example, accelerated-weight-loss) from programs main screen and proceed to Pages section.
Under pages section add necessary widgets like Madang banner and Madang Meal Plan by clicking on Add Widget button. See the image below.
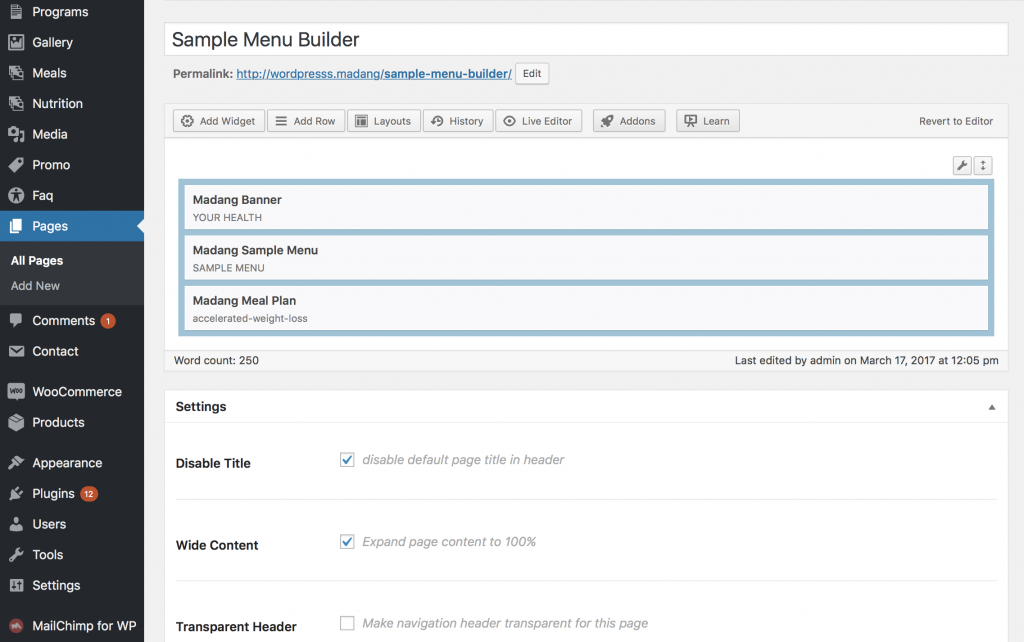
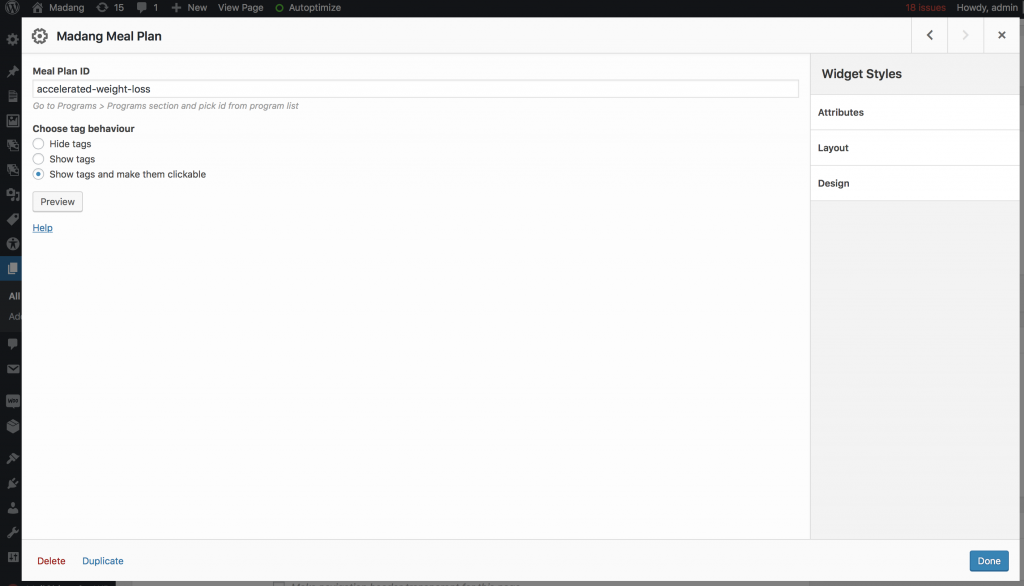
Hover on Madang Meal Plan widget and click Edit. The menu with extra setting will popup like on the image below. Fill in Meal Plan ID number which is program ID described in this section (accelerated-weight-loss) click done and Publish or Save if the page is already published.
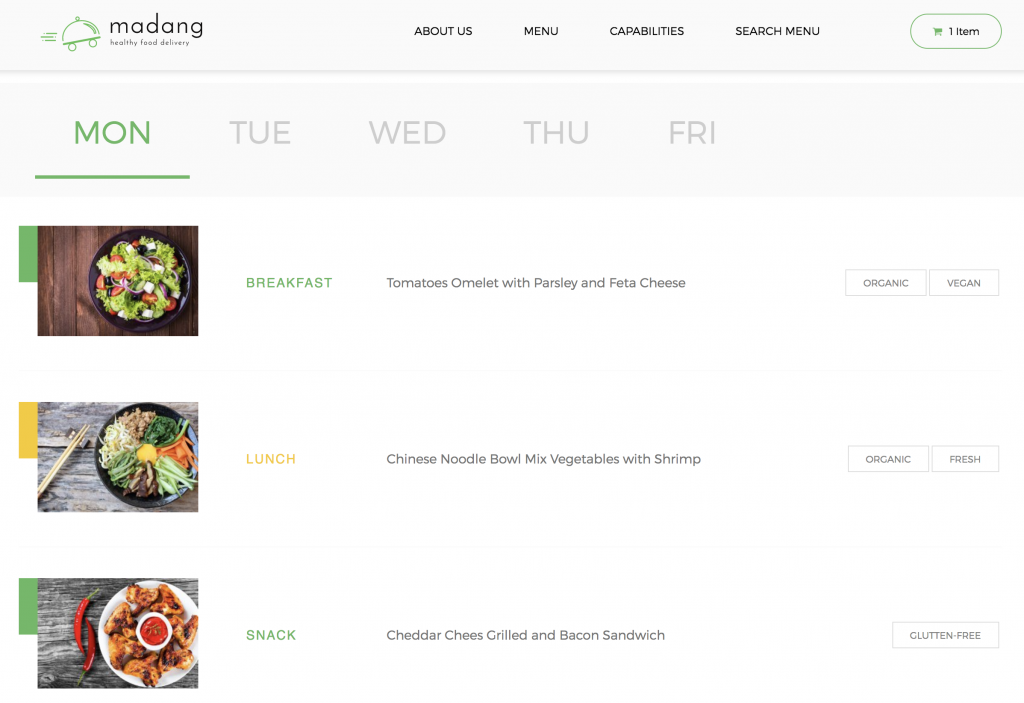
Adding Call to Action button is very straightforward. Just add Madang CTA widget and follow interface hints. Once all the data is filled in and meal plans are linked correctly your website page may look like on the image below.
If you have any additional questions regarding meal plans use our comment form below.
Hi Team!
I’ve got a question… I created the meals and the program. I did step by step the whole process but when I tried to preview or view live the weekly menu doesn’t work (but I can see the quick preview in the programs section, which means is working, right?)
If I edit one of the programs already created on your demo with my meals id #s works fine!
Do you have any idea why it doesn’t work with my new program? Can you help me please?
Thanks!
Make sure you are copying Meal Plan ID without [madan_menu id=”
Make sure you use only one meal plan per page
Thanks Alex! I double checked the Meal Plan ID and it’s without [madan_menu id=” and I’m using just one meal plan per page! Any other thought?
Thanks for your help!