All WordPress themes come with standardized way how users can create and modify navigation menus. There are also many articles online that cover navigation menu creation process in more details. Most of the themes support multiple menu locations. This highly depends on theme design and structure complexity. The image below previews a theme with menu hierarchy consisting of multiple levels.

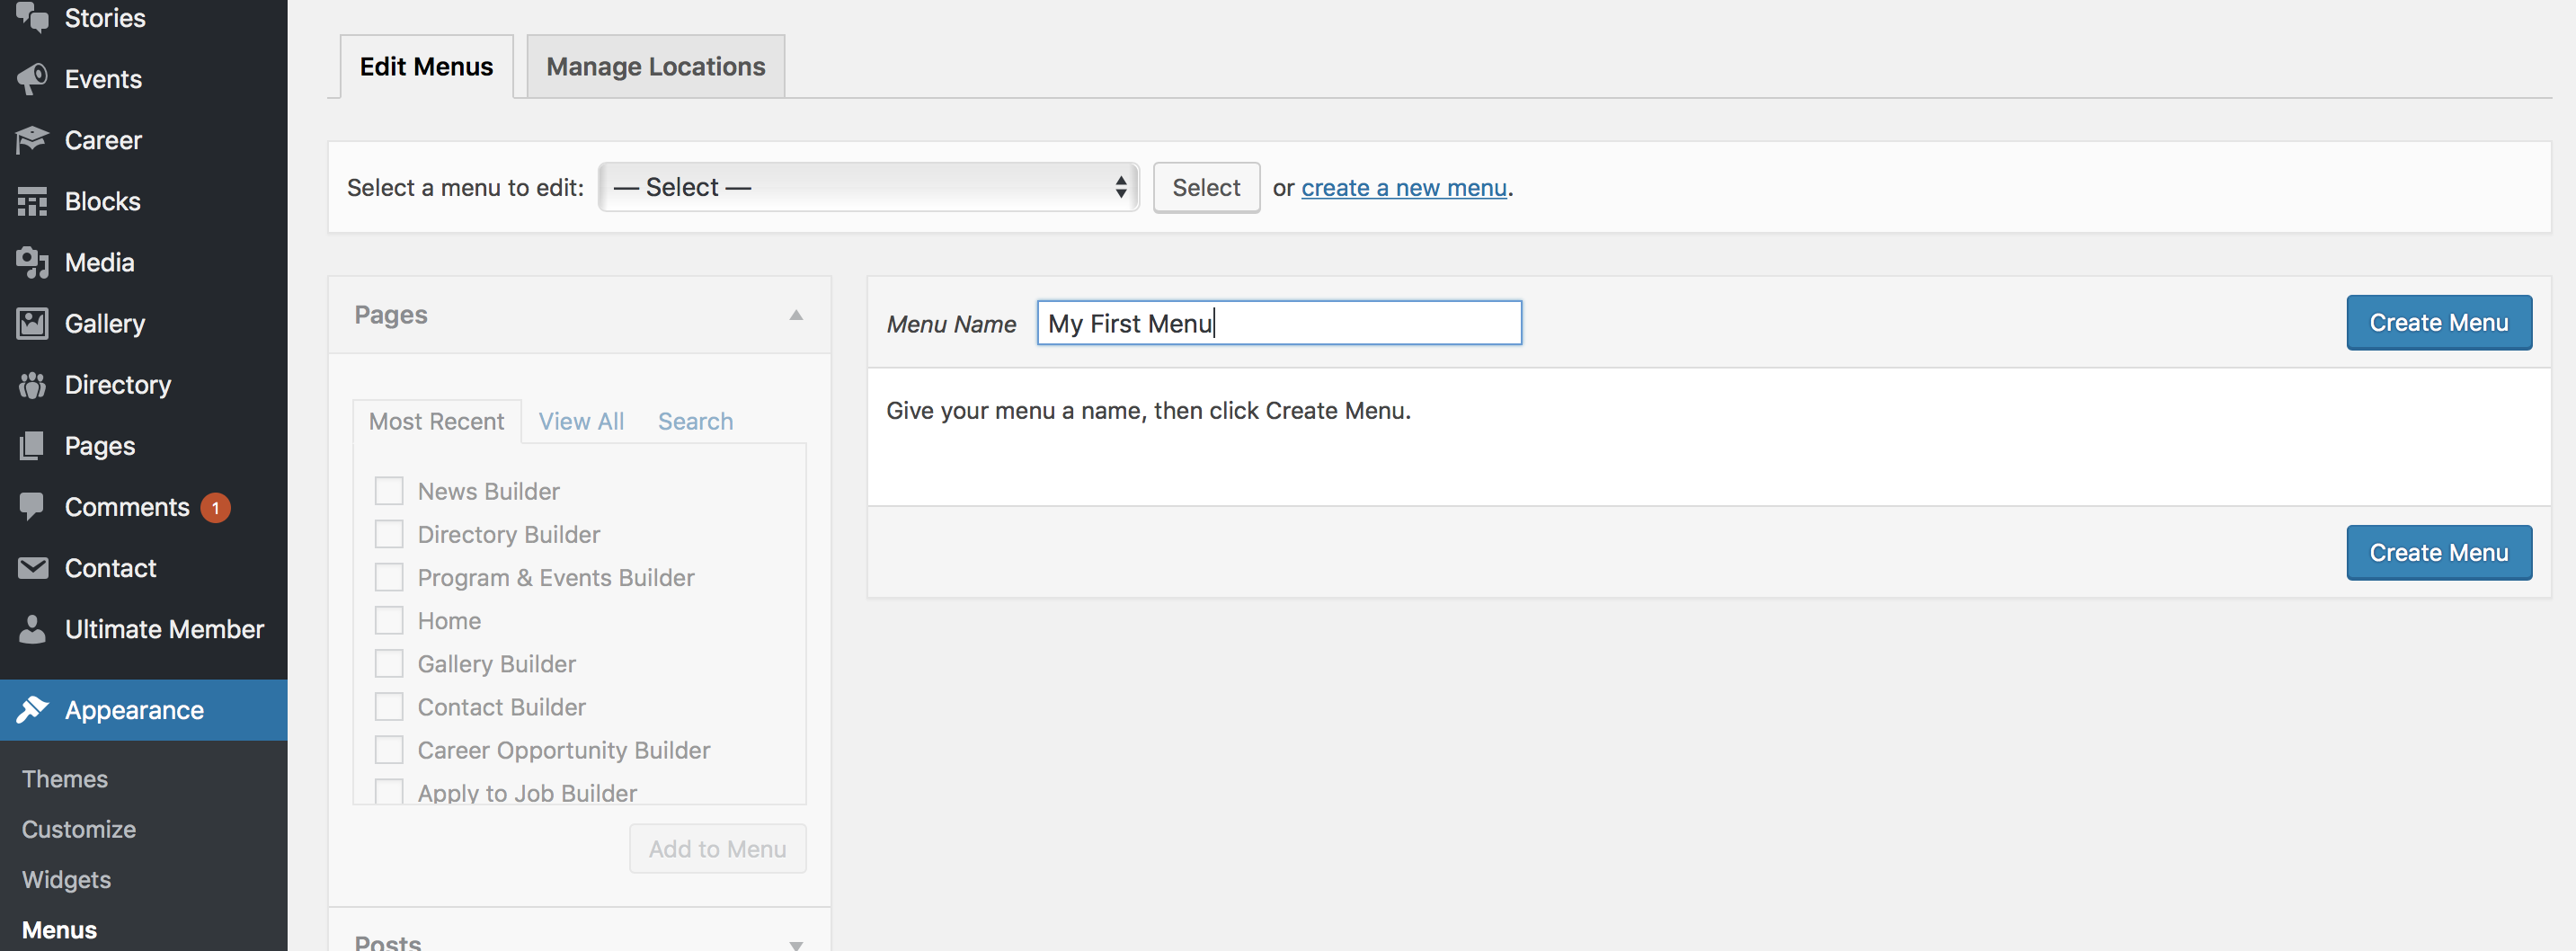
Even if you are a WordPress beginner it should not be difficult to set up your first menu. WordPress provides user friendly interfaces that support Drag and Drop functionality. Just go to Appearance > Menus > Create a new menu. Once clicked on Create a new menu link you have to specify the menu name (its for your reference only and will not be published online) and click Create Menu button. Refer to the image below.
Now you can populate menu entries and specify levels and hierarchy. It is important to notice that all themes render menu in a different way. While one theme can support more than 3 levels of hierarchy some may not support it at all. A good way to understand how theme works and what feature it supports is by performing modifications based on demo content preinstalled.
In order to populate menu with pages and/or custom links use the navigation column on the left side. If theme supports custom post typed this columns may contain some extra Rows. Page types:
- Pages
- Posts
- Projects (custom post type example)
- Custom Links
- Categories
- Tags
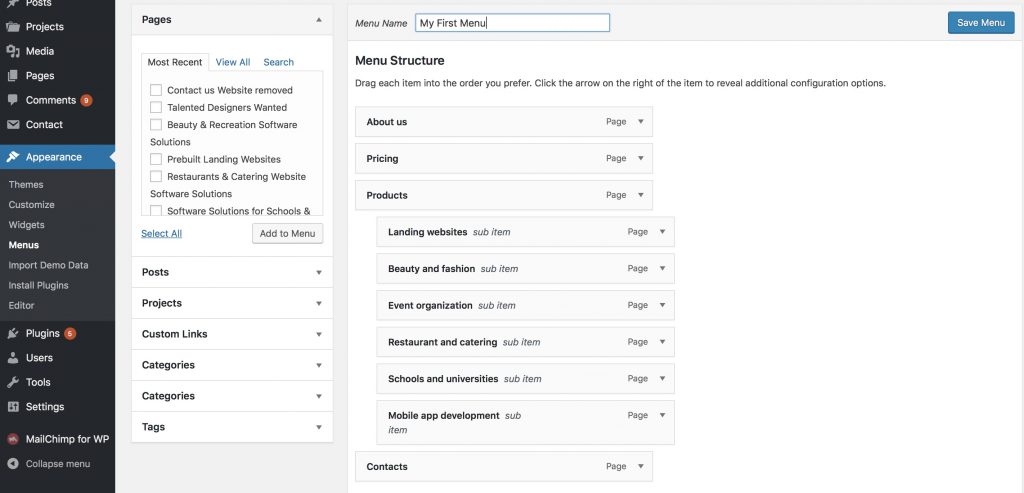
Tick checkboxes from one of the page type rows and click Add to Menu button. Selected items will show up under Menu Structure container. Now you can drag each item into the order you prefer or click on down arrow to view more customization options.
In order to add a submenu or new level just offset the item by slightly dragging it the right. The classical behavior of desktop version submenu is to dropdown while on hover though this depends on theme design and structure. When navigation menu structure is defined you need to specify its display location. You may save same menu far all locations or specify new navigation menus for other locations. The image below defines three menu locations:
- Main Menu
- Main Menu – Mobile
- Footer Menu
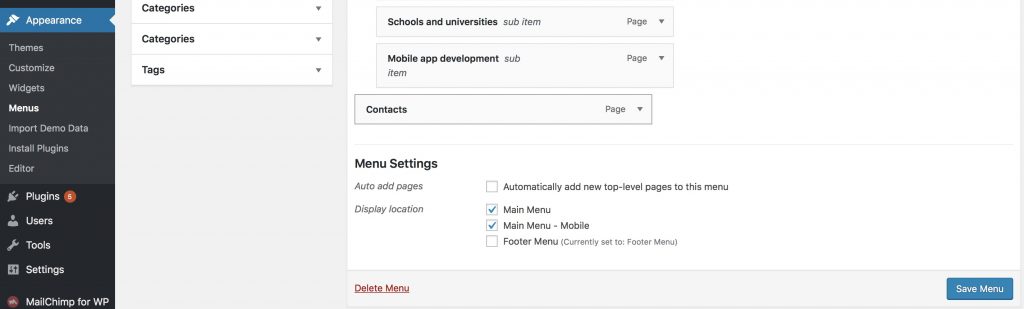
Choose desired display location and click Save Menu button to save changes.
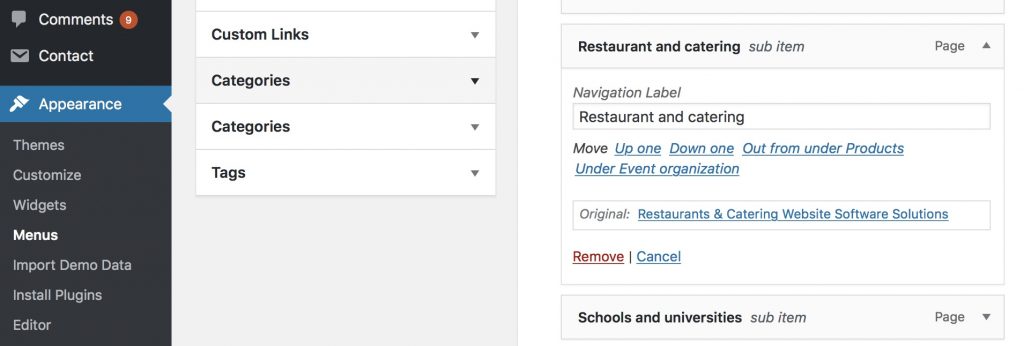
How to remove item from navigation menu?
In order to remove link item from menu click on click on its down arrow and find red Remove link. Click on this link and Save Menu in order to save changes and remove selected link item.
How to create navigation menu in sidebars?
It is considered a good practice to have multiple menus available on website. This can improve user navigation experience by making it faster and easier to navigate through the website. One of these extra locations can be considered as a Sidebar. Sidebar navigation menu locations should be supported by most of the modern themes. Go to Appearance > Widgets section of your website and find Navigation Menu widget. Drag it and drop into Sidebar widget container. Enter menu title and select menu itself.
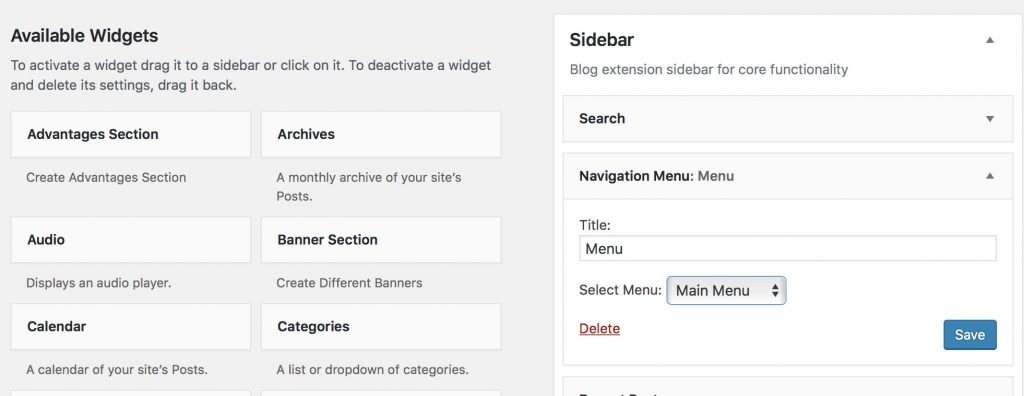
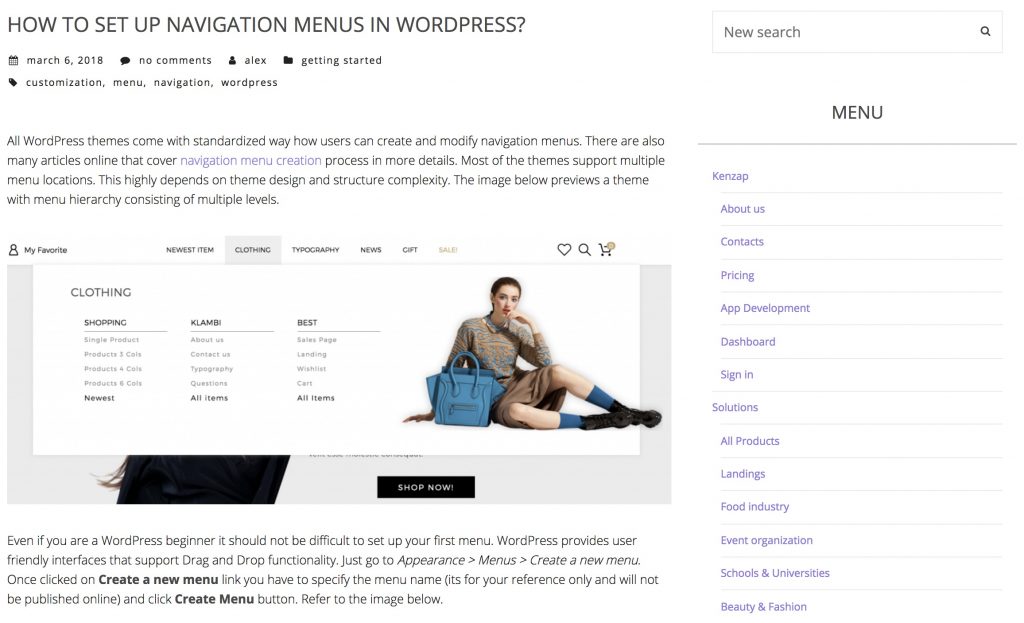
Now your sidebar navigation menu should display in WordPress blog pages and all other locations where sidebar is supported.
If you have any additional questions please use the form below to contact us or refer to our sidebar on the right to find more tutorials.